前言
随着代码量的越来越多,同时对代码质量的要求也越来越高,对于代码review的需求越来越多。因此,引入SonarQube这个工具对Java代码进行质量管控。
安装
前置条件
- 系统环境:Centos 7
- Java环境:1.8
- SonarQube版本:6.7.7
由于最新版的SonarQube7.9要求Java环境必须是Java11以上,我们目前开发使用的是1.8,所以选用较低版本的6.7.7
创建sonar用户
由于sonar用到了es,不允许直接使用root用户运行,因此,需要在linux下,创建sonar用户,专门用来运行sonar程序。
假设当前使用的是root用户登录:
useradd sonar |
安装mysql数据库,创建sonar库
1、mysql的安装步骤:记录Linux安装Mysql全过程
2、创建sonar库
创建sonar数据库,用于保存soanrqube的扫描数据
安装sonarqube
1、将sonar6.7.7安装包拉到/opt/SonarQube目录
2、解压
unzip sonarqube-6.7.7.zip |
3、修改配置
vi ./sonarqube-6.7.7/conf/sonar.properties |
添加mysql配置:
#-------------------------------------------------------------------------------------------------- |
省略了不需要展示的部分
创建软连接
ln -s /opt/SonarQube/sonarqube-6.7.7/bin/linux-x86-64/sonar.sh /usr/bin/sonar |
运行sonar
sonar start |
重启 sonar restart
停止 sonar stop
查看状态 sonar status
可能遇到的问题
没有目录权限:
将目录授权给sonar用户:
su root
chown -R sonar /opt/SonarQube
没有操作权限
chmod a+x /opt/SonarQube/sonarqube-6.7.7/bin/linux-x86-64/sonar.sh
chmod a+x /opt/SonarQube/sonarqube-6.7.7/bin/linux-x86-64/wrapper
chmod a+x /opt/SonarQube/sonarqube-6.7.7/elasticsearch/bin/elasticsearch
数据库问题
录数据库后执行:
SET GLOBAL max_allowed_packet = 4*1024*1024*16
使用
Java
扫描Java的maven项目,首先要在pom.xml中添加配置:
<plugin> |
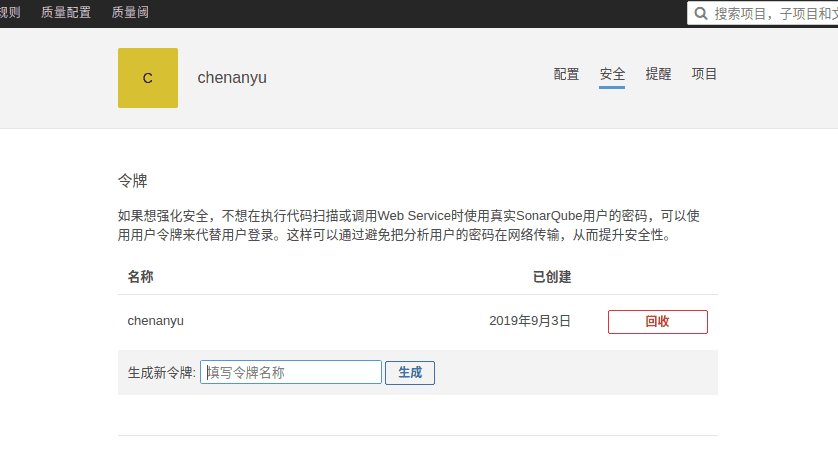
使用logintoken扫描
mvn sonar:sonar \ |
其中youtoken可以在登录sonar后台后找到:我的账号 - 安全
设置settings.xml扫描
修改本地maven的settings.xml文件,添加配置:
<pluginGroups> |
<profiles> |
然后执行:
mvn clean verify sonar:sonar |
或
mvn clean install sonar:sonar |
或
mvn clean -Dmaven.test.skip=true verify sonar:sonar |
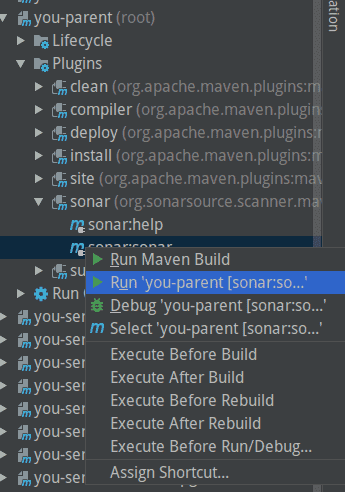
或在IDEA中执行maven插件:
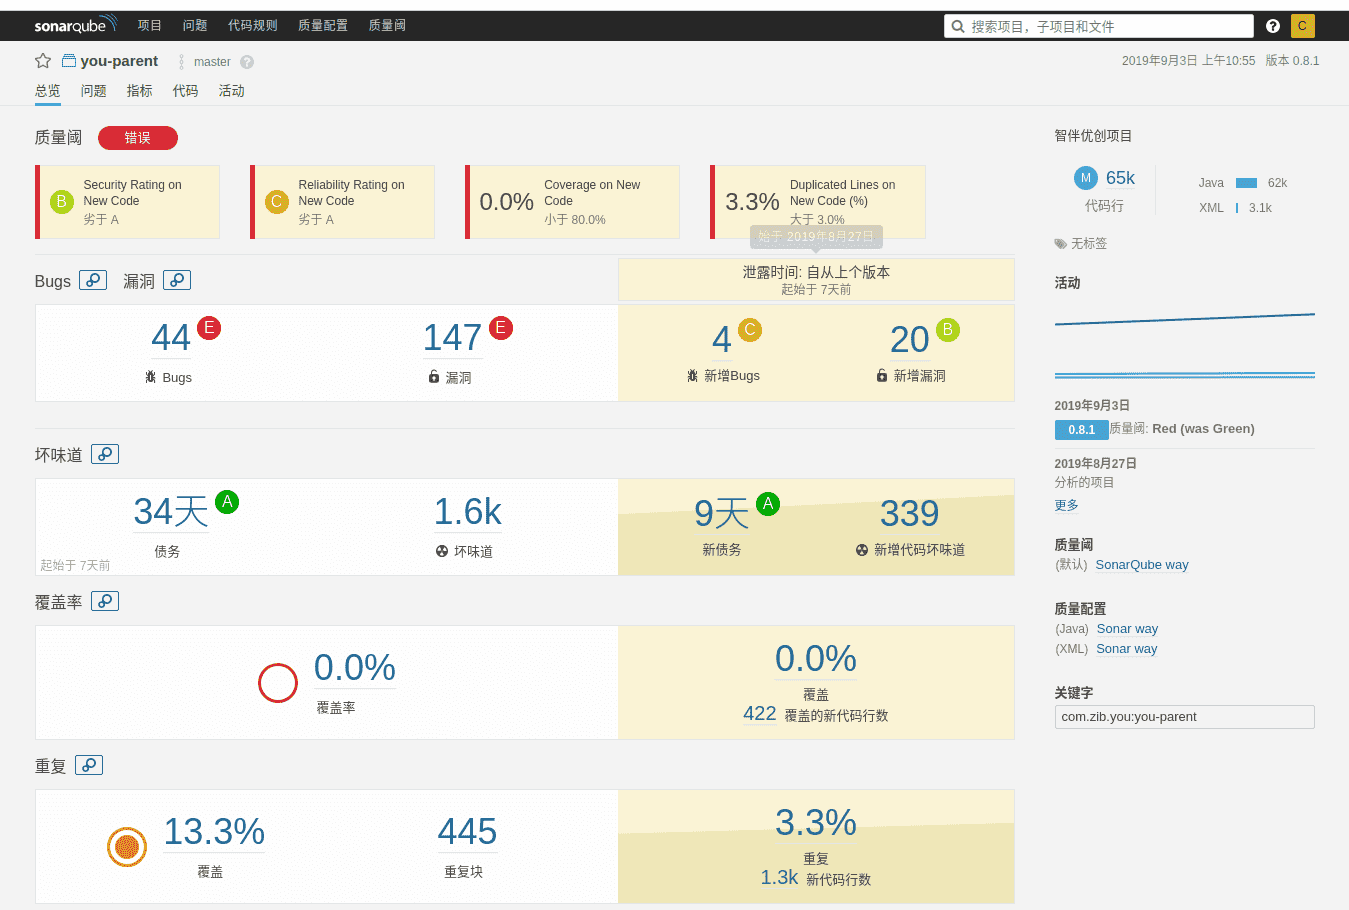
分析
扫描完成后,登录sonar后台,将可以看到本次扫描的项目,和相应的分析:
over
^_^.