
今天查看Stellar文档,发现Giscus可以自建服务,想着也好久没有水文章了,便顺便记录一下折腾过程。
创建一个GitHub App
前往这个页面创建一个Github App
注册一个新的 GitHub App
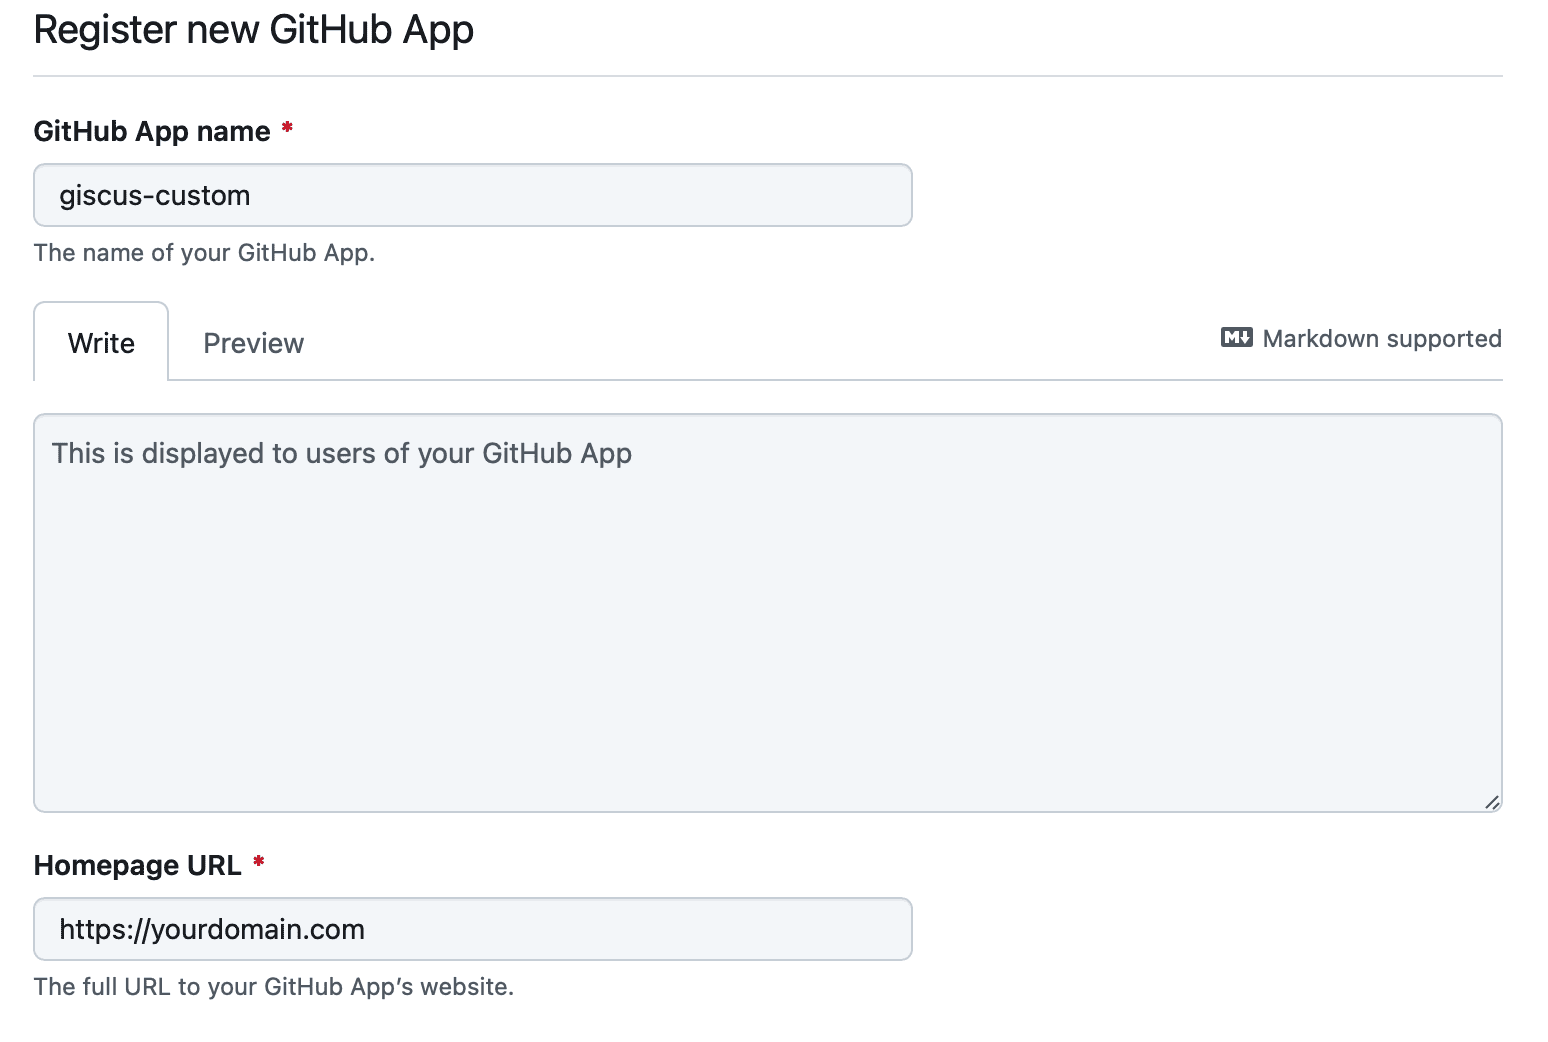
填入回调函数地址

使用
https://[YOUR-DOMAIN-HERE]/api/oauth/authorized这样的格式作为回调地址,将中括号里的内容替换成你的域名。例如:
https://giscus.app/api/oauth/authorized将“Expire user authorization tokens”取消勾选。
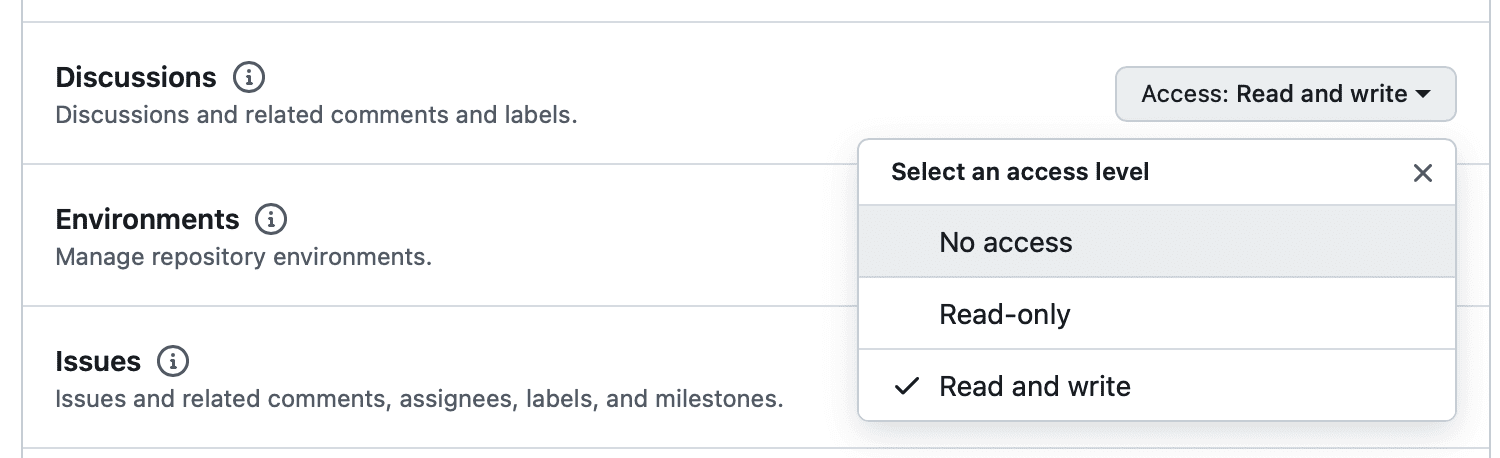
编辑权限
为Discussions开启读写权限:
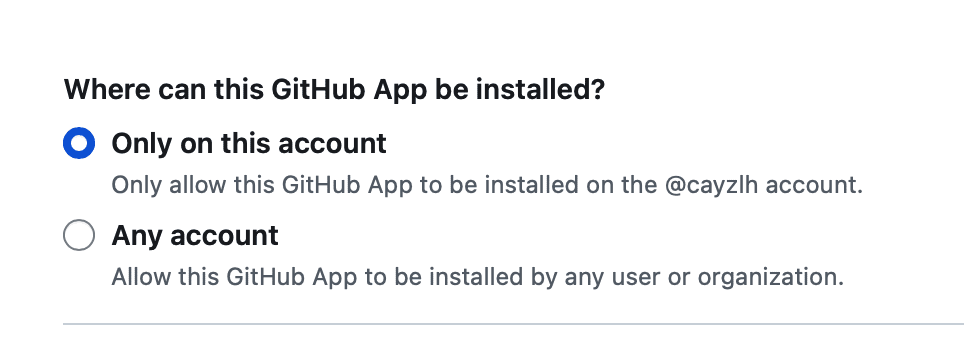
用户权限
选当前用户就行了:
其他设置
- Webhook,不需要使用取消勾选Active
- Post installation,不需要使用
创建GitHub App

点击这个按钮
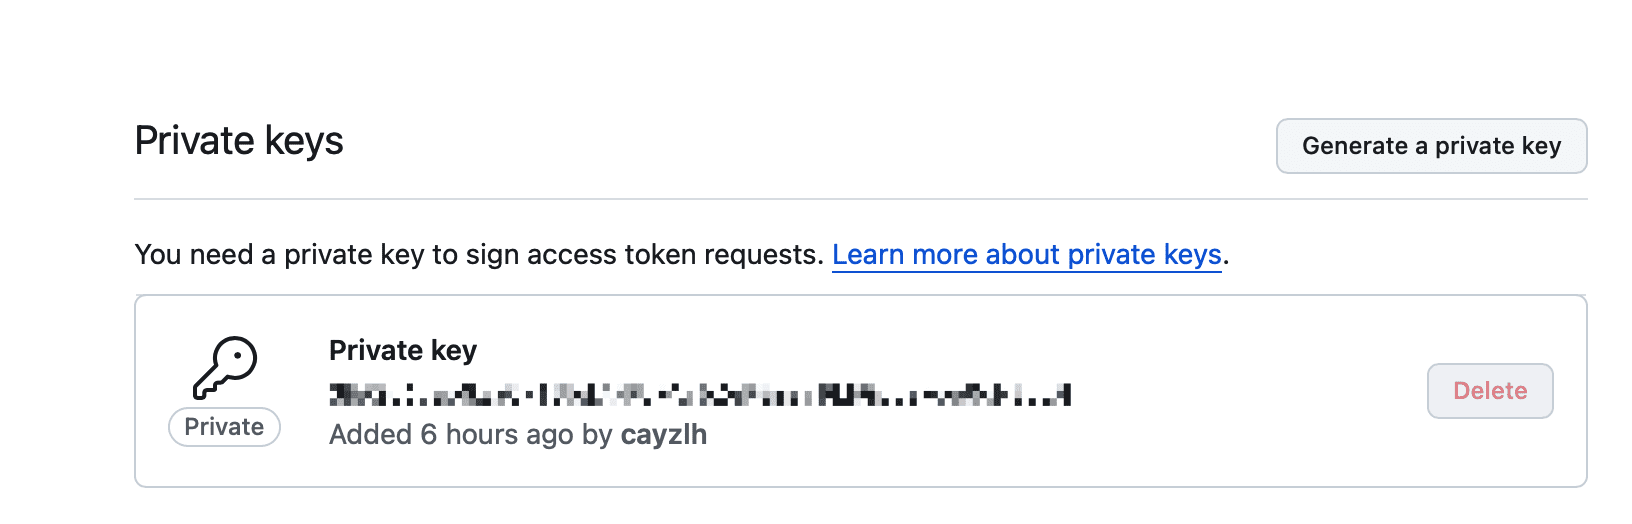
生成并下载Private keys
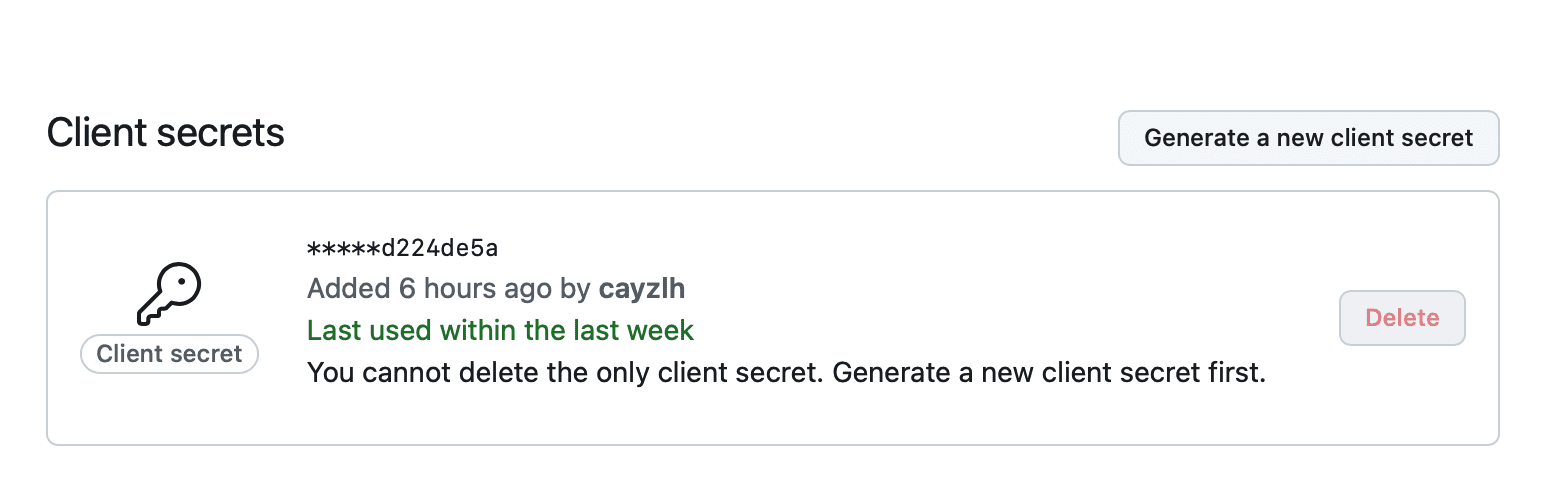
生成并记录Client secrets
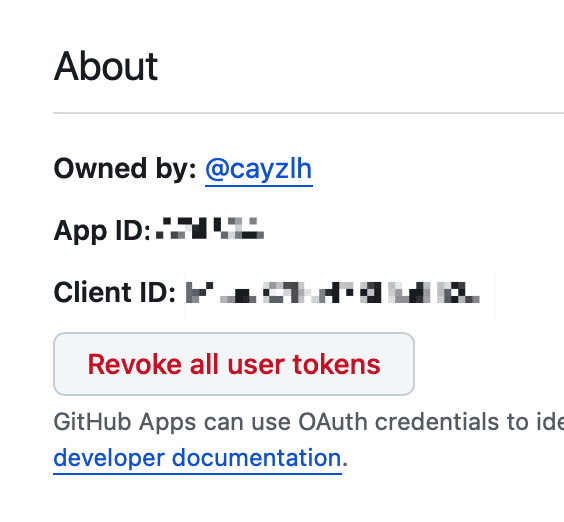
记录app id 和 client id 备用
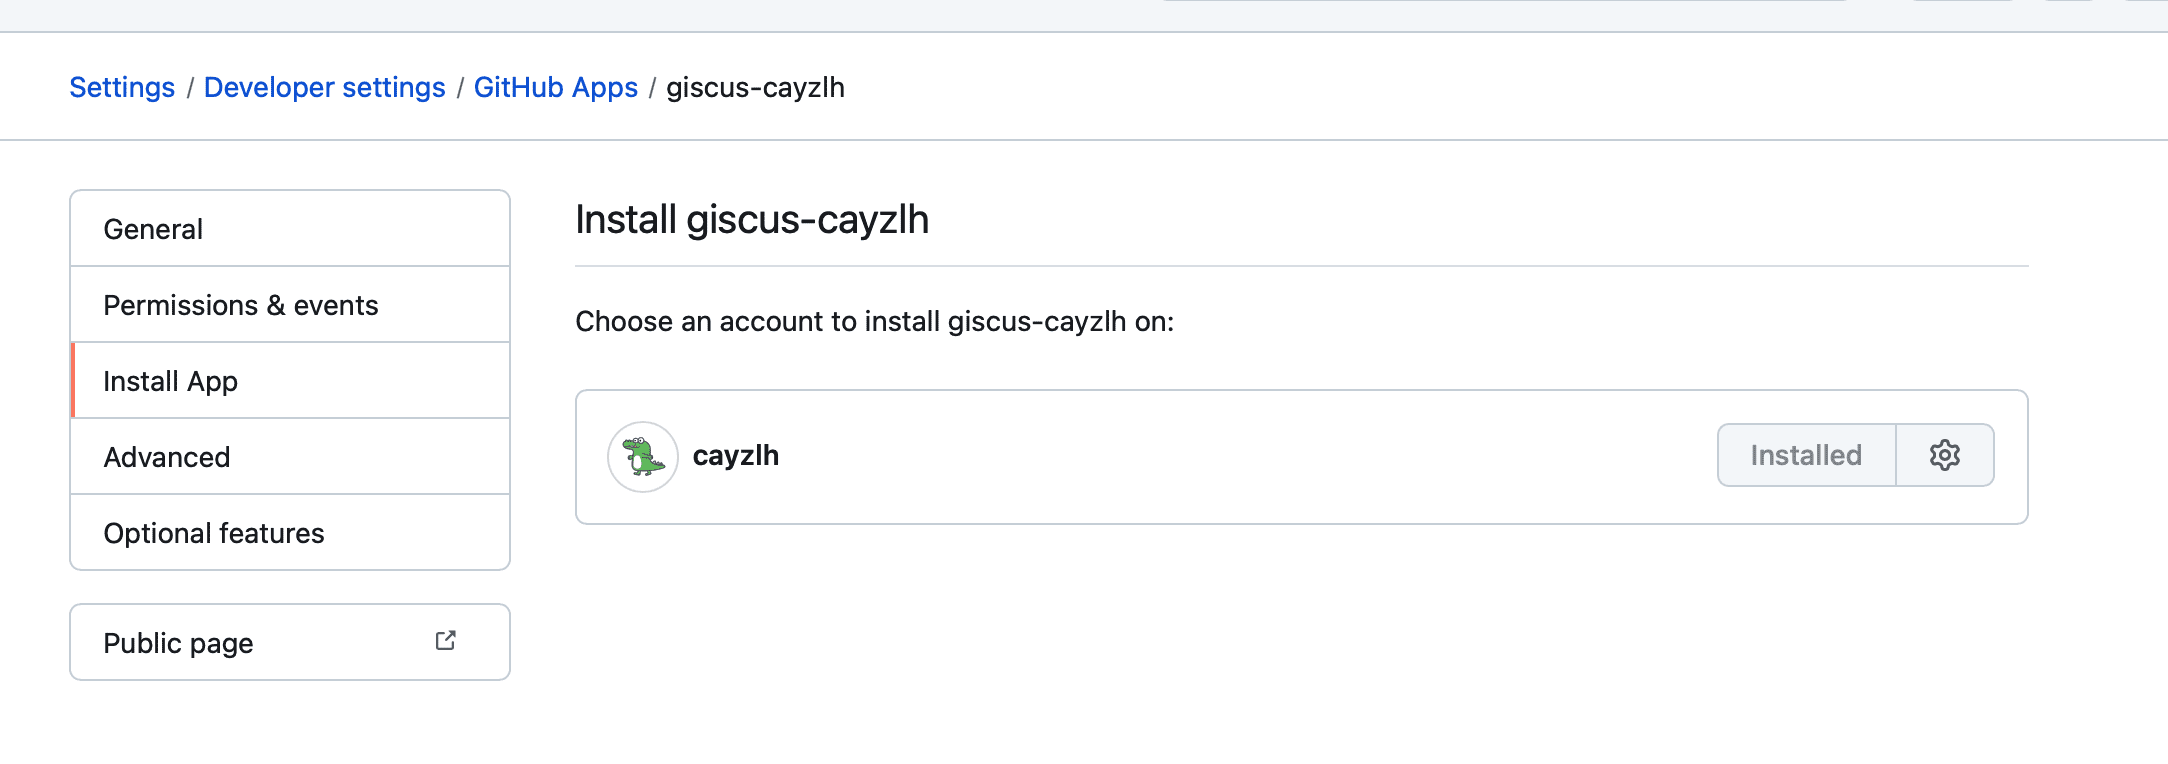
安装APP
配置 Supabase 以缓存访问令牌(可选)
GitHub 应用程序安装访问令牌的 TTL 为 60 分钟。您可以配置 giscus 将令牌缓存在 Supabase 表中。这减少了对 GitHub 的令牌请求数量,有助于防止应用程序达到速率限制。
登录Supabase。
创建一个新项目。
在项目中创建一个新表。表名可以是任意的,但giscus使用
installation_access_tokens作为默认值。按以下字段创建一个表:
installation_id: int8, no default value, primary key, uncheck Is Identity
token: varchar, no default value
expires_at: timestamptz, no default value
created_at: timestamptz, default value NOW()
updated_at: timestamptz, default value NOW()

None of the columns are nullable (uncheck Is Nullable via the gear icon).
Only installation_id is the primary key.
记下您的 Supabase 项目的 URL (https://xxxxx.supabase.co) 和您的 API 密钥。
确保:
- 禁用表上的行级安全性 (RLS)
- 使用秘密 service_role API 密钥。

在Vercel部署Giscus
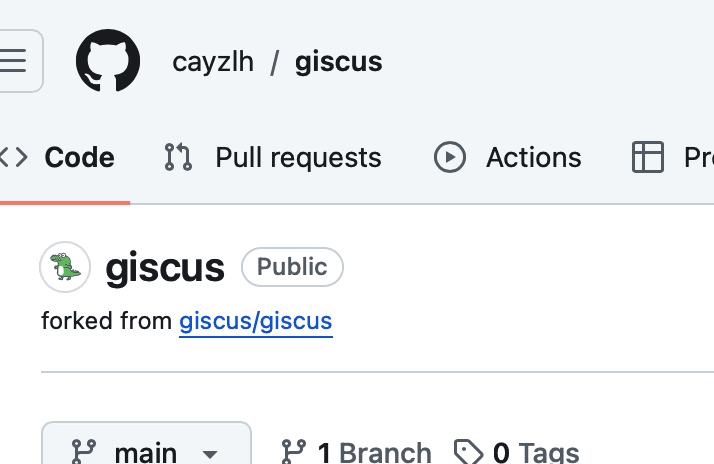
fork giscus项目
首先将giscus项目fork到自己仓库。
在vercel部署
登录vercel,选择刚fork的giscus仓库,直接使用默认的参数部署。
配置域名
将前面预设好的域名映射一下。
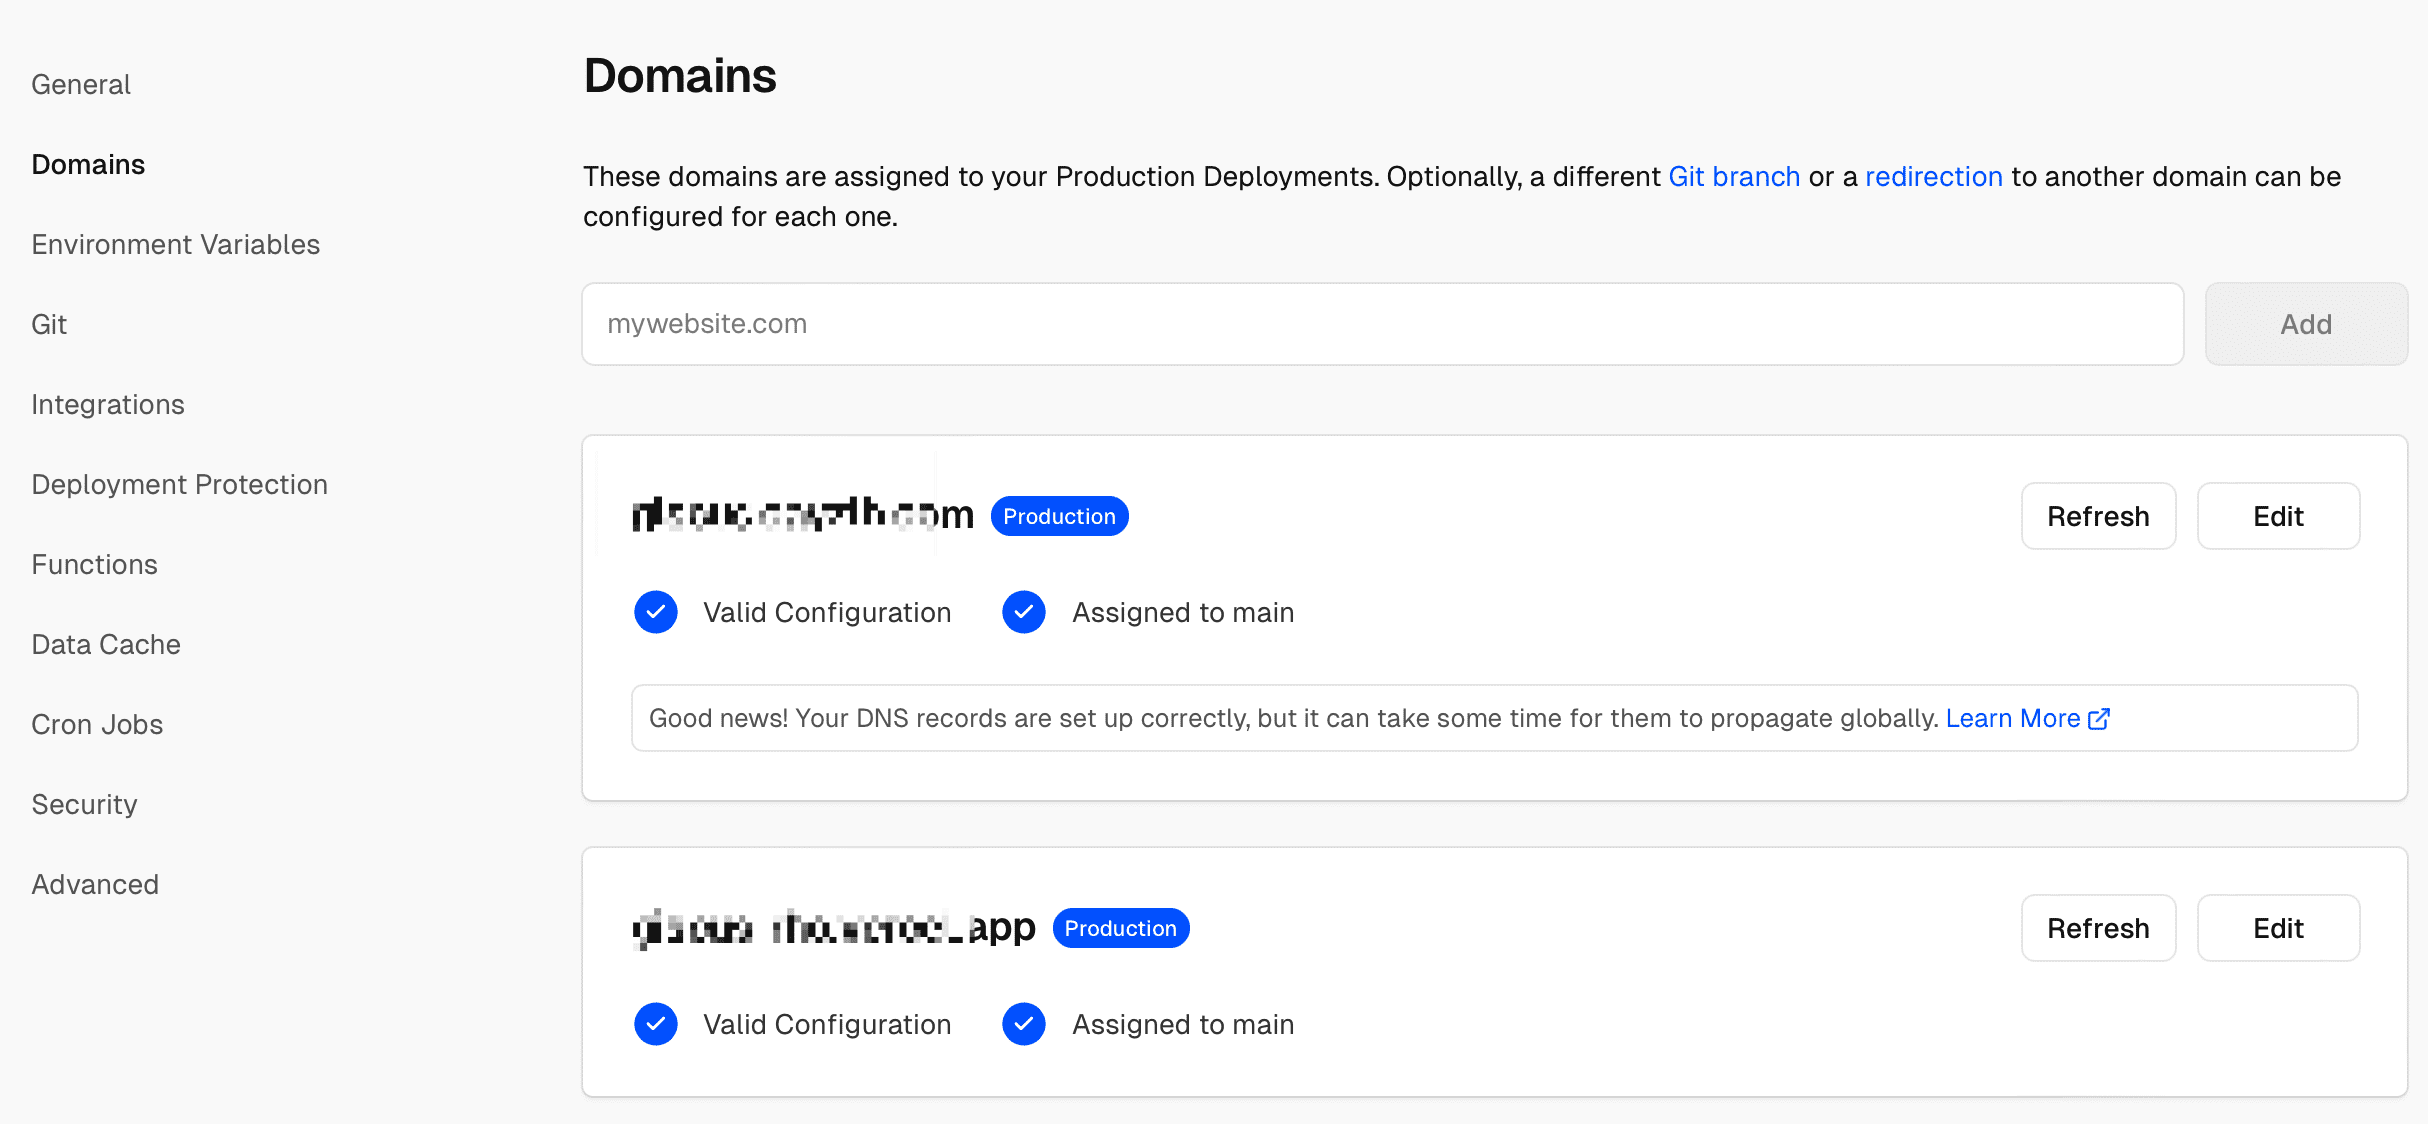
添加配置
在Setting页面,增加相关配置参数。
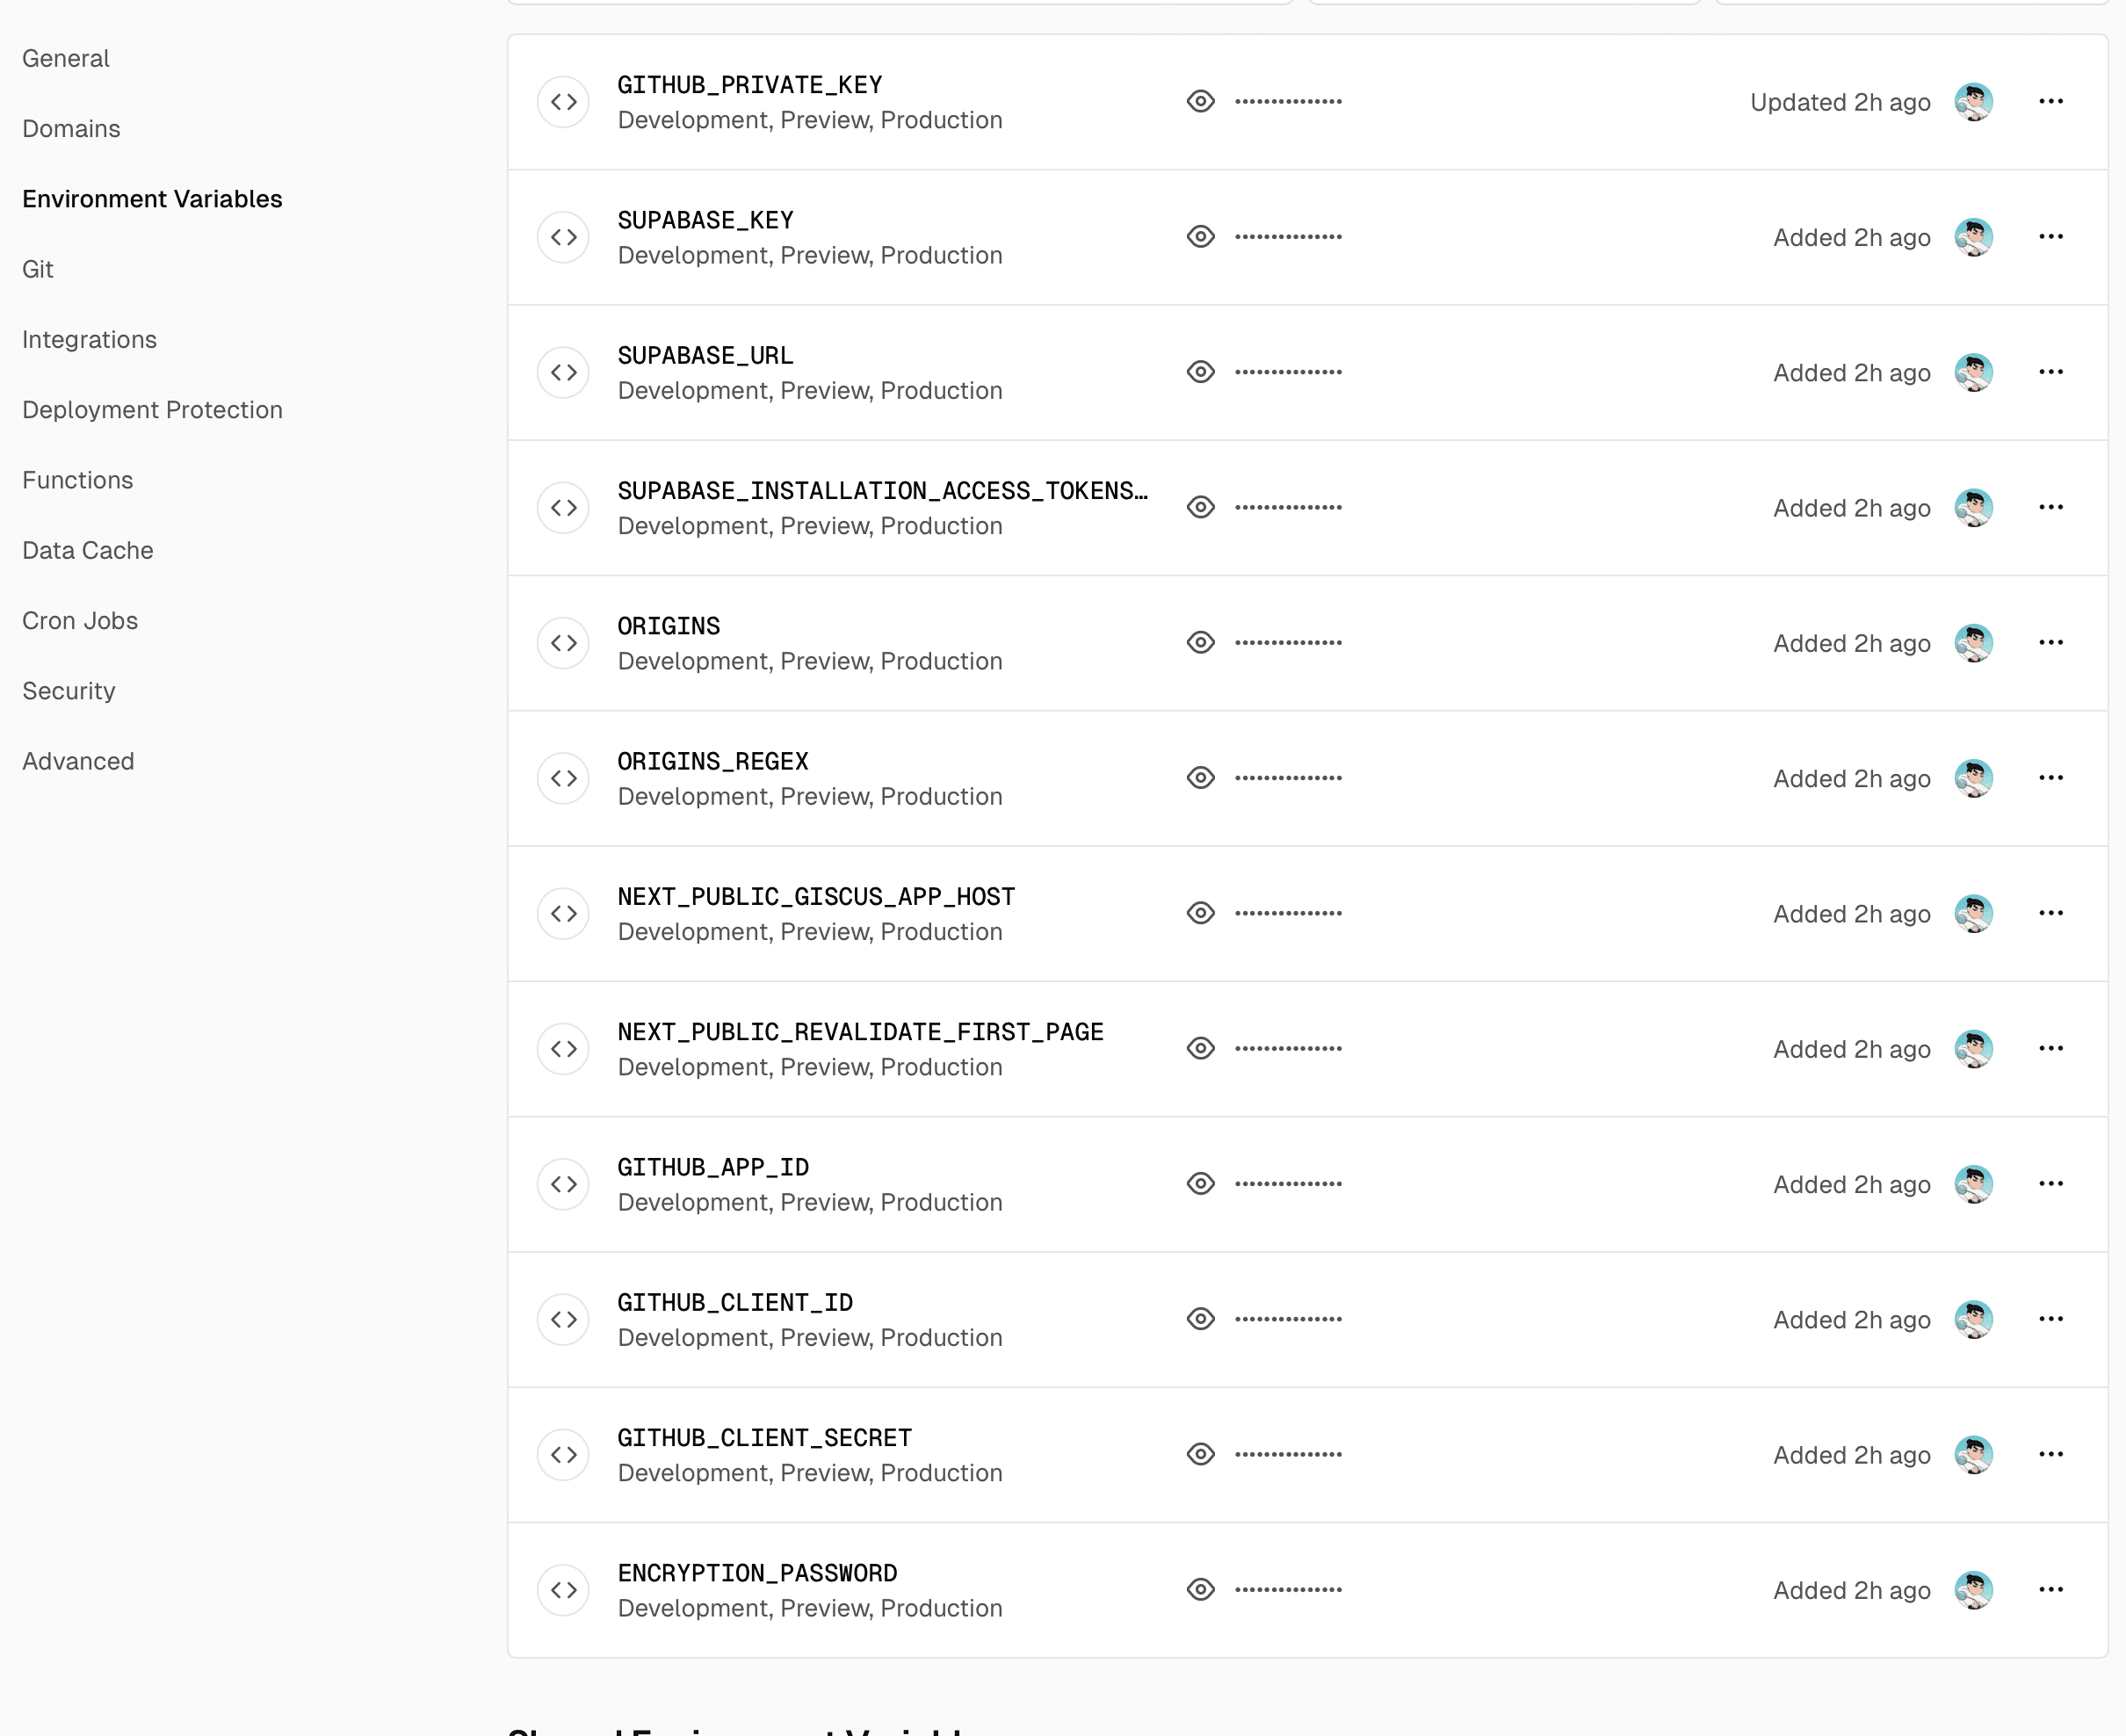
这些参数全部来自前面步骤记录下来的内容,字段参考如下:
NEXT_PUBLIC_GISCUS_APP_HOST=https://yourdomain.com |
在Stellar中应用
修改主题配置文件,将Giscus的src属性改成自己的域名就可以了。
######## Comments ######## |
修改Giscus字体
在stellar应用之后发现评论区字体与博客正文的字体不一样,所以需要进一步搞一搞。
创建@font-face样式
本博客使用ZFont字体。
@font-face { |
创建字体使用样式
@import url("//giscus.cayzlh.com/themes/preferred_color_scheme.css"); |
以上俩文件都存储在我的GitHub仓库中:cayzlh/psychic-potato
将字体应用到Giscus中
修改Stellar主题配置文件:
comments: |
请注意,您需要将 [在此输入仓库] 和 [在此输入分类名] 的占位符替换为您的存储库和分类的正确值。